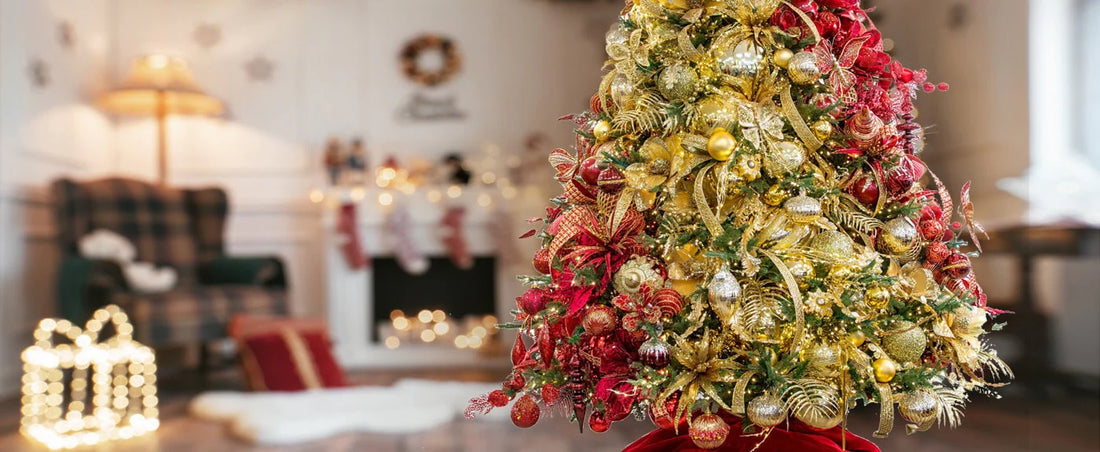
Every year, photo boards are filled with pictures of gorgeous, cute, elegant, and festive Christmas trees. Each inspirational photo seems more stylish than the last creating a smile across your face. You want a spectacularly decorated tree in your living room for the holidays. Some homes have more than one Christmas tree, adding special festivity to each welcoming space in the house.
People often hire a professional designer to make their Christmas tree photo-perfect for the big day and the entire season leading up to Christmas - but you don't have to go that route. It's possible to create a DIY Christmas tree design that is just as artistic and visually stunning as those decked by a professional tree designer.
Whether you're decorating your home, office, or the house of a friend, anyone can deck their tree like a pro by following a few simple steps. Let's dive into eight of the best tips to create your own designer Christmas tree.
1) Fluff and Straighten Your Tree
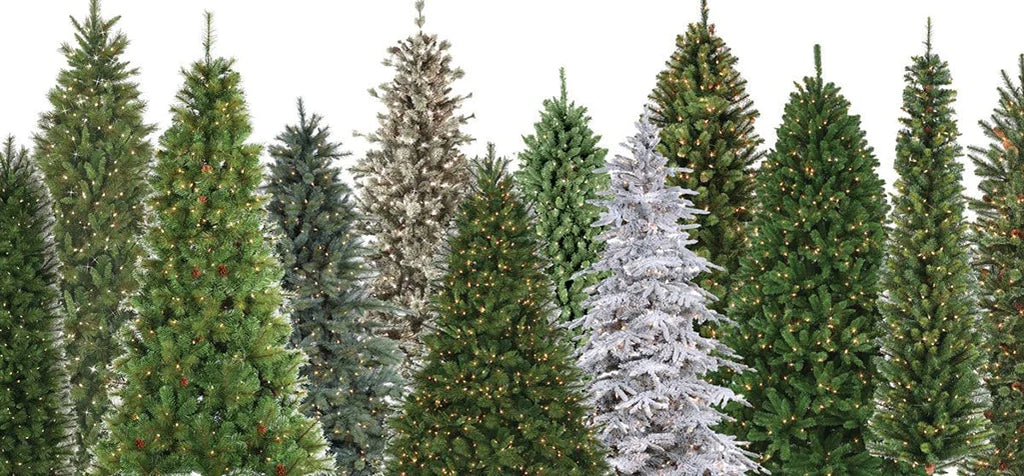
When you unpack your tree, prepare it to be gorgeous. Most tree decorating enthusiasts start with an artificial tree. Natural trees are rarely available early in the season, plus artificial trees are cleaner, easier to control, and easier to reuse. So get your artificial tree ready to hold up all that stunning decor.
Straighten the trunk and the flexible crown section. Make sure it points to the ceiling rigidly. Don't be afraid to bend the top branches if they are a little too tall for the room. Fluff the branches to fill the spaces between the tiers of branches and make the tree look fuller. Taking the time to fluff makes a difference in the look and vibrancy of your final tree design, and it's the starting secret of every pro.
Wrap Your Tree in Lights, but Leave Them Off
Once the branches are fluffed, add lights if they're not built into your tree. Nestle them deep in the branches, so they don't block other ornaments but glimmer from the evergreen boughs when turned on. You can also embed a looping ribbon that peeks out of the branches.
But do not yet turn your lights on. Decorate with the lights off so you can see your spacing and hanging points more clearly and without distraction. Turn the lights on occasionally to check the effect you're creating.
If You Flock, Flock Early
Fake snow is a beautiful addition but not part of all designs. If you want to flock your tree, do so before adding ornaments. Start lightly at the top and add snow more heavily on lower branches.
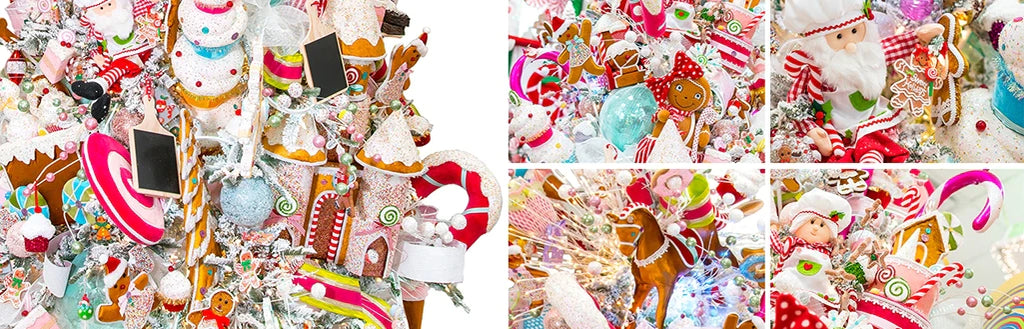
2) Set a Design Theme for Your Tree
Once your tree is prepared, it's time to set your theme. A unified theme is what makes a tree feel professionally decorated. Building on that theme and sticking to it will make your tree look unified and provide a vision for the entire balance of ornaments. Choose a theme that means something to you and will guide the design of the whole tree, from the topper to the smallest ornament.
Here are some tree themes to spark your imagination:
- Coastal Christmas
- Traditional Rustic Tree
- Diamonds & Ice
- Family Memories and Keepsakes Tree
- Holiday Sparkle
- Candy Cane Red and White Tree
- Merry Traditions
- Nutcracker
- Bursting-with-Presents Tree
- Razzle Dazzle
- Sugar & Spice
- Handmade Ornaments Tree
- Tickled Pink
- Brilliant Gold Tree
3) Start with the Topper
The topper sets the personality and impression for the whole tree. It will also set the balance of the design from the top down. Start by placing your topper first as it will be easier to place before all the other ornaments are on the tree. Reinforce the top, and secure your topper, so it doesn't wobble or unbalance the tree. Then stand back and admire the entire tree, visualizing how your design will unfold.
4) Sort and Prepare Your Decorations
Now that your tree is ready to be decorated, prepare the decorations before you place them. Sort the entire collection by its appearance and theme. Doing so will help you aesthetically space out your decoration—sort by size, color, texture, and style. As you begin adding embellishments to fill out the tree, finding the right ornament for the theme you have in mind will be easier. Big or small, shiny or fabric. Trains, snowmen, or family memories, the perfect ornament will come to hand.
Keep a Stock of Hanging Supplies
Don't forget to grab hooks, zip-ties, and hanging wire. A supply of extra hanging supplies makes it easy to both repair ornaments and secure heavier decorations.
5) Visualize a Triangular Flow
Another secret of the trade is the triangle method that encourages designers to create visual triangles. The triangle method reflects how the human eye works. When we scan a scene, the eye jumps from point to point in triangles, building the whole image in detail. So designing in triangles can make your tree look more balanced and appealing on an instinctually aesthetic level.
6) Place Ornaments Largest to Smallest
You started with your topper; now, define the tree with your largest ornaments. If you have large snowflakes or glass balls, hang them at aesthetic points around the tree now. If you want to embed presents in shiny paper, place them in the boughs and secure them. Place your large-scale ornaments first to define the rest of the space throughout the tree.
Then place the rest of your ornaments with artistic and even spacing in the unoccupied boughs. Use your designer's eye to balance the tree with ornaments by their color, texture, and size. Place the smallest and most numerous ornaments last.
7) Wrap the Outer Garland
Now prepare your fluffy tree garland whether it’s a bristling wreath, an impressive ribbon, or even handmade paper chains. Wrap your tree from the topper to the lower boughs, tucking your garland into the lowest boughs. The way you wrap is, of course, up to you. You can create an even designer-perfect spiral or scallop your garland so that it drapes welcomingly over the boughs.
Use a Ruler to Achieve an Even Spiral
If you want an even spiral, use a ruler to determine the exact distance between each loop. Doing so ensures that the tree looks the same all the way down. Or you can calculate a ratio to get a tighter spiral near the top while keeping that pro precision.
8) Hide the Gifts and Prizes
Last and certainly not least, hide your presents. Secure all ornaments, so they don't shake off easily, then use the final open spaces to nestle gifts and prizes for the family to ferret out of the tree. Bars of candy, noisemakers, fruit, and wrapped tiny gifts make a wonderful interactive addition to your stunning tree design. Tantalize the family with nestled gifts for the whole month or hide the final gifts on Christmas Eve.
Turn on the Lights and Admire Your Designer Christmas Tree
When your tree design is complete, it's time to flip on that beautiful set of string lights. Stand a few feet back and admire your handiwork. If you've followed the design basics, no doubt, your tree already looks more impressive and pulled-together than you thought possible. And there's always another tree design in the future to hone your skills.
For more insights on creating designer trees to dazzle your loved ones (and your social media feeds), reach out.